
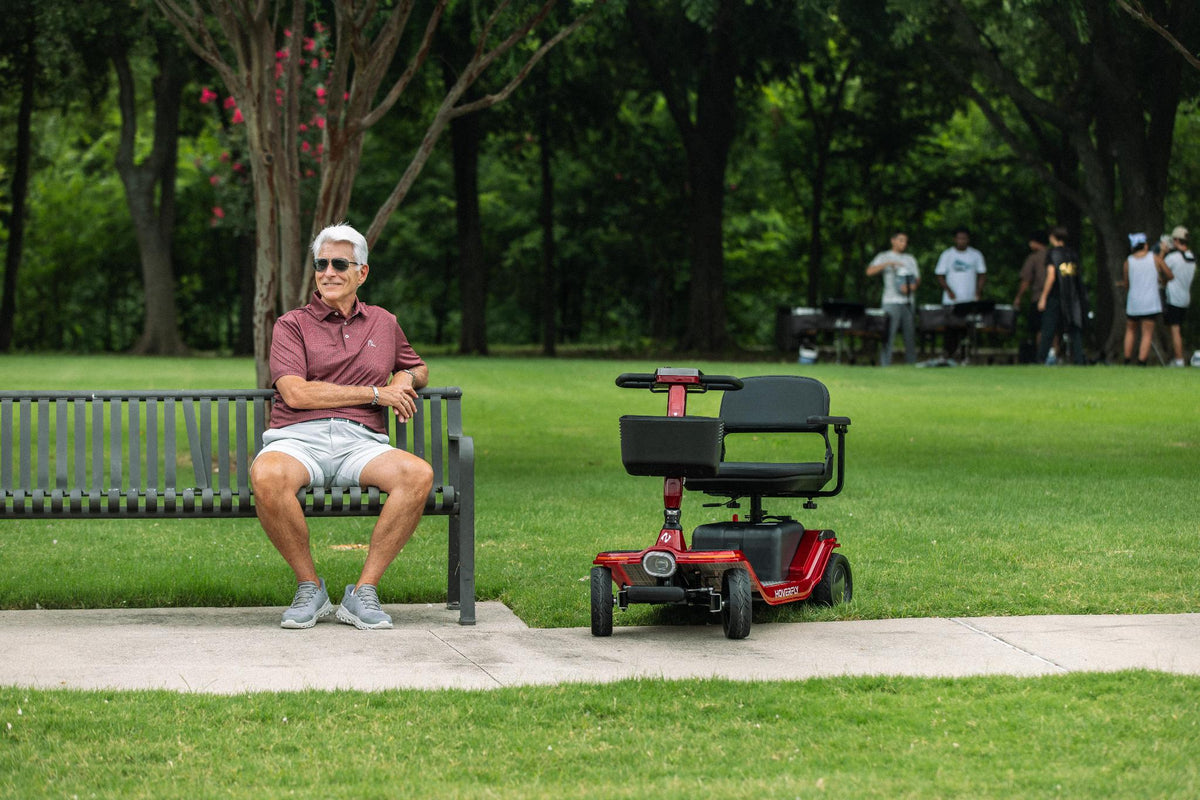
Can you load a mobility scooter by yourself? In many cases, yes—but being able to lift it once is not the same as being able to manage the entire trip. You also need to unload it, put it back together at your destination, and repeat the process when you return.
Whether the scooter fits in your trunk is only one consideration. The heaviest piece may still be difficult to control, the vehicle opening may be too narrow, or the trunk sill may be too high. Even a manageable lift can become tiring when several parts must be moved multiple times during each outing.
To decide whether solo loading is practical, start with the scooter parts you will actually handle. Then check the path into your vehicle and walk through the complete loading, unloading, and reassembly routine. The ten checks below will help you identify where the process works—and where you may need a lighter scooter, a ramp, a lift, or another person’s help
Identify the Load You Will Actually Handle
1. Find the Heaviest Part—not the Total Scooter Weight
Use the exact model product page to verify item weight and heaviest-part fields, and use the model manual to verify the disassembly and reassembly steps. Keep these fields separate:
Total item weight
Heaviest handled part
Battery weight, if the battery is removed and lifted
Seat, basket, steering column (tiller), frame, or chassis weights when those parts are part of the real loading routine
Our official pages for Hoverfly T3, Hoverfly T4, and Hoverfly T5 identify the product-specific Item Weight and Heaviest Part fields used for this check.
The “heaviest part” spec is your best starting point - it tells you exactly what you’ll be wrestling through the trunk opening. Total Item Weight remains a reference for the complete scooter, while the heaviest section helps determine whether manual loading is realistic or whether a lighter model or compatible loading aid should be considered.
Model |
Item Weight |
Heaviest Part |
Transport pieces |
Battery removability |
Loading note |
|---|---|---|---|---|---|
61 lbs |
50 lbs |
3 pieces: basket, seat, and main frame |
Integrated, non-removable battery |
Folded trunk loading depends on the opening width, sill height, and whether the user can safely control the 50-lb main frame. |
|
100.86 lbs |
60 lbs |
4 parts |
Removable battery |
The four-part routine must clear the opening and cargo-floor edge while the 60-lb Heaviest Part remains under control. |
|
125 lbs |
76 lbs |
4 pieces: basket, battery, seat, and main chassis |
Detachable battery |
The 76-lb Heaviest Part may make manual loading difficult. Check the vehicle opening and sill height, or consider a compatible carrier, ramp, or lift. |

Safety Note: Product weights are reference points, not personal lifting limits. Also consider the vehicle opening and sill height, your grip and body position, loading frequency, and the model’s handling steps. Treat the setup as suitable for independent loading only if the same person can complete the entire loading, unloading, and reassembly routine without help.
2. Can You Control It Without Twisting Your Body?
A foldable scooter is not necessarily easy to load. Check the manual for your exact model to see how it folds or separates and identify the heaviest part you will need to handle. If you are unsure whether the scooter will work with your vehicle, contact our support team for guidance.
Before lifting, make sure you can face the vehicle opening and follow the loading path without twisting your body. If you are unsure about the weight, your grip, or your balance, do not test the lift alone. Ask a dealer, family member, or another adult to assist.
During the test, make sure you can keep the same grip while moving the part over the sill and through the opening. Stop immediately if you feel pain, lose your balance, or lose control of the part.
3. How Many Parts Must You Lift Each Time?
One complete round trip provides a more realistic count than a single loading attempt. The count covers four stages: loading at home, unloading at the destination, loading for the return, and unloading at home.
For example, if the selected scooter requires three component lifts at each stage, one round trip would involve twelve component lifts. This is a planning example, not a model-specific user record.
The actual count follows the selected model’s documented handling routine. The Hoverfly T4 entry in the product table above identifies a four-part scooter, with an Item Weight of 100.86 lbs and a Heaviest Part of 60 lbs. The T4 manual lists the main frame, battery box, seat post, and seat as the four main sections. If all four sections are handled at all four stages, the planning count would be sixteen component lifts.
The product table lists the confirmed transport pieces for each model: T3 has three pieces—basket, seat, and main frame—and T5 has four pieces—basket, battery, seat, and main chassis. These counts describe the product-page transport configuration. Use each model’s current manual to confirm which parts the same person handles at each loading and unloading stage. The manual index provides model-specific manuals for T3, T4, and T5. The same person’s routine may include the seat, battery, basket, tiller, frame, chassis, or other components required by the model’s documented handling sequence.
After these three checks, you should have a complete load profile: the parts you will handle, the position required to control them, and the number of lifts per outing.
Measure the Vehicle Loading Path
4. Is the Trunk Opening Wide Enough for the Handled Part?
Measure the narrowest usable width at the entry, including trim, hinges, hatch edges, and any point that the component must pass between. Compare that width with the handled part in the exact orientation used at the vehicle.
A mobility scooter can fit inside the cargo area and still fail at the opening or trunk sill. Our existing car-fit measurement guide also treats the opening as a separate measurement from the space inside.
At the opening, follow the component through the narrowest point while keeping the actual grip. Forcing it past an edge or changing to an unstable position means the opening, not the cargo volume, is the limiting feature.
5. How High Is the Trunk Sill?
The lift starts at the ground—or at the component’s starting point—and ends at the highest edge the part must clear. The controlling height is the bumper edge, trunk sill, or cargo-floor lip; the interior floor height describes the space available after the part clears that edge. The heaviest section must clear the edge while you still have a stable grip in the actual loading position. A high sill that makes you reach, pull, or twist your torso creates a vehicle-path constraint, even when the cargo space inside is sufficient.
6. Do You Need to Bend Down to Remove the Seat or Battery?
Before lifting, check the position you would use at the vehicle. Can you see and reach the handhold without bending to floor level, twisting your back, or pulling the part toward your body? If you must reach into the cargo area, make sure you can still keep a steady grip.
Then confirm the return movement:
Can you lift the seat or battery from the bottom of the cargo area?
Can you guide it over the opening and sill without twisting or changing hand position mid-lift?
Can you place it down safely without pain, loss of balance, or loss of grip?
If the answer to any question is no, do not continue loading the scooter alone.
Test the Complete Mobility Scooter Loading Routine
7. Does Disassembly Require Grip Strength, Buttons, or Pin Alignment?
Read the exact manual and isolate the actions that happen before the lift:
Pressing a release button or clamp
Pulling a latch, lever, or pin
Disconnecting a connector by its plug
Aligning a seat post or frame pin
Tightening or loosening a knob, screw, or fastener
Holding one part in position while releasing another
Before lifting, check whether you can operate each release while keeping the part steady. Pay attention to the grip strength, thumb pressure, reach, and finger control required to release a latch or align a pin or connector. These steps may still be difficult even if the component’s weight seems manageable.
Always follow the manual for your exact model. In the T4 manual, the seat must be removed before the tiller can be fully lowered, and removing the battery pack is recommended during disassembly. The T5 manual requires several additional steps: disconnect the power cable, open the seat-post clamp, remove the pin and connector, unlock the battery latch, and then lift out the battery. Because these steps vary by model, do not use instructions from another scooter.
8. Account for Weekly Loading Frequency
Use the round-trip total from Check 3 to estimate the weekly workload:
Weekly component lifts = component lifts per round trip × outings per week
For example, if one round trip requires 16 component lifts, two outings would require 32 lifts per week. Add any extra appointments or trips separately.
Then consider whether the same person can repeat every lift throughout the week while maintaining the same grip, balance, and body position. If the routine becomes difficult after repeated outings or on consecutive days, treat it as unsuitable for routine solo loading.
9. Can You Reassemble It Independently at the Destination?
At the destination, place the parts as they would be after unloading and reverse the model’s disassembly sequence. Independent mobility scooter loading also includes unloading and rebuilding the scooter at the destination.
The user must be able to:
Place each part in the correct position
Reconnect the battery or electrical connector without pulling the wires
Align the seat post, latch, or pin
Reinstall the seat or other required components
Return the scooter to the correct drive or freewheel setting—the setting for powered driving or manual pushing—according to the manual
Complete the model’s basic pre-use check
Independent loading means completing the entire routine yourself—from releasing and moving each part to reassembling the scooter at your destination. If you need help at any point, plan for assisted loading instead.
10. If Manual Loading Isn’t Practical, Consider a Ramp, Carrier, or Lift
If you cannot safely repeat the full loading and unloading routine, consider a compatible ramp, carrier, or lift. A ramp may work when the vehicle has a relatively low loading height and there is enough space to use a safe slope. A hitch-mounted carrier keeps the scooter outside the cargo area but requires a compatible hitch and sufficient tongue-weight capacity. A lift may be more suitable for a heavier scooter or when manual lifting is not practical.
Before choosing any loading aid, confirm that it matches the scooter’s weight and dimensions, the vehicle’s loading height and mounting points, and the equipment’s rated capacity. NMEDA guidance also recommends considering the vehicle, mobility device, and user’s physical abilities when selecting this type of equipment.
Put the Ten Checks on One Worksheet
This worksheet brings the ten checks together for the scooter and vehicle you plan to use. The completed example below is illustrative, not a customer record. Replace its vehicle measurements and handling observations with information from the actual scooter-and-vehicle setup.
Ten-Check Loading Worksheet
Check |
Evidence on file |
Recorded result |
Status |
Verification requirement |
|---|---|---|---|---|
Heaviest part |
Hoverfly T4 product page and model manual |
Exact model, Item Weight, Heaviest Part, and source version; Example: Item Weight 100.86 lbs; Heaviest Part 60 lbs; four-part routine |
Product data verified |
Confirm the exact model and current source version |
Body control |
No safe hands-on assessment recorded |
Grip, reach, sightline, torso position, and regrip not assessed |
Pending |
Complete a safe assisted assessment |
Number of lifts |
T4 four-part routine; four stages per round trip |
Up to 4 component lifts per stage; 16 planned lifts per round trip if every part is handled each time |
Planning only |
Confirm the actual routine from the manual |
Opening |
Illustrative vehicle opening: 31 in clear width |
Example measurement only |
Illustrative only |
Measure the narrowest usable opening |
Sill |
Illustrative cargo-floor edge: 8 in above the starting surface |
Example measurement only |
Illustrative only |
Measure the highest edge the part must clear |
Bending |
No release-position observation recorded |
Lowest seat or battery handling position not assessed |
Pending |
Review the actual release and placement position |
Release actions |
Model manual reviewed; user performance not observed |
Seat, battery, connector, and alignment actions require confirmation |
Manual verified; user pending |
Compare the manual sequence with the person’s actual ability |
Frequency |
T4 four-part routine; 2 outings per week |
2 outings × 4 stages per outing × 4 component lifts per stage = up to 32 component lifts per week |
Schedule recorded |
Confirm whether the user can repeat the full 32-lift weekly routine safely |
Reassembly |
No destination reassembly assessment recorded |
Independent reassembly not demonstrated |
Pending |
Verify every destination reassembly step |
Alternative equipment |
No ramp, carrier, or lift selected |
Equipment compatibility not checked |
Pending |
Check the scooter, vehicle, mounting point, and equipment rating |
For your own setup, replace the illustrative entries with the exact model data, vehicle measurements, manual steps, loading observations, and weekly schedule. “Product data verified” confirms only the cited product fields; it does not establish independent loading. Keep the decision open while a model detail, vehicle measurement, or safe hands-on assessment is missing.
Choose the Loading Outcome
After the checks are complete, the four outcomes below show the next loading decision.
Outcome |
Trigger |
Action |
|---|---|---|
Suitable for independent loading |
All loading, unloading, release, and destination reassembly steps are independently repeatable. |
Proceed with the verified scooter-and-vehicle routine. |
Possible, but only with a ramp or lift |
Manual lifting is not repeatable; compatible equipment is confirmed. |
Confirm equipment fit before purchase. |
Choose a model with a lighter heaviest piece |
The heaviest part is the barrier; no equipment match is confirmed. |
Compare exact heaviest-part fields. |
Not suitable for routine solo loading |
No repeatable manual, equipment, or lighter-part solution resolves the barrier. |
Do not classify as routine solo loading. |
What If One of the Loading Checks Fails?
A failed check identifies the next item to verify. If a model detail or vehicle measurement is missing, keep the decision open until it is confirmed.
Pain, loss of balance, or loss of control is a stopping point, not a reason to repeat the test alone.
When manual loading is not repeatable, a compatible loading aid or a model with a lighter heaviest part may offer another path. Before purchase, the selected option must match the scooter, vehicle, loading height, mounting requirements, and equipment rating.
FAQ
What if the product page does not clearly list the heaviest part?
Solo loading depends on the weight of the largest section after normal transport preparation, not the full scooter weight. A useful answer should clarify whether the battery, seat, basket, tiller, frame, or chassis remains attached or becomes a separate handled piece. If the seller can only provide total scooter weight, the loading decision is still incomplete.
How can I check vehicle fit before the scooter arrives?
Vehicle measurements can narrow the choice before delivery, but they cannot prove that solo loading will work. The key comparison is between the transported scooter section and the tightest point in the real loading path: hatch or trunk opening, sill or cargo-floor edge, and usable space after the part is inside. The remaining uncertainty is body control. Final fit still depends on the part’s orientation, grip position, and whether the same person can guide it in and out without losing control.
What should I do if I can load the scooter at home but cannot rebuild it at the destination?
That setup is not independent loading. A scooter that reaches the cargo area still has to become safe to ride after unloading. If the destination step fails because the seat will not align, the battery connection is difficult, a latch cannot be secured, or the drive mode cannot be restored without help, the practical choice is assisted loading, a different model, or a loading method that reduces the reassembly barrier.
Should I test scooter loading when I am tired or rushed?
No. A loading test should reflect the way the scooter will be handled on a normal outing. Fatigue, poor lighting, wet ground, or time pressure can make the result unreliable, even if the scooter seems manageable once. If loading only works under unusually favorable conditions, the setup should not be treated as dependable for routine solo use.
Conclusion
Before buying, evaluate the complete routine—not just whether the scooter fits in the trunk. Confirm that the same person can safely move the heaviest part through the vehicle opening, clear the sill, and complete unloading and reassembly at the destination. Use the T3, T4, and T5 comparison above to narrow your options based on the heaviest part and number of transport pieces. If manual loading is not repeatable, verify a compatible ramp, carrier, or lift before purchase.
Not sure which scooter and loading setup will work with your vehicle? Contact our support team for help comparing your options.



Leave a comment
All comments are moderated before being published.
This site is protected by hCaptcha and the hCaptcha Privacy Policy and Terms of Service apply.